Sunday, 11 August 2013

Two more Filofax Personal inserts for Letter Paper users

My project to convert my A4 Filofax Personal templates to Letter paper continues. Today I'm releasing two further pages for you to download, print and use. Follow the header links to the original blog posts for each of these if you want more information on their use.

1. Turbo Tasks

Click to enlarge

Make sure to visit the original post on this insert to see how it is best used.

Download as a Word file or as a PDF file.

2. Course Record

Click to enlarge


Download as a Word file or as a PDF file.

Print these double-sided. If you have a duplex printer, set it to flip on the short edge. If you don't then you'll have to print odd-numbered pages and then refeed to print the even-numbered pages on the reverse. You might have to experiment to find out how to refeed the paper.

On one side of each sheet you'll find crop marks. Use a craft knife and a steel ruler to release the Personal pages and punch them. The templates are set up with mirrored gutters to accommodate the holes.

If using the PDF be sure to set it to print at full size as explained here.

Saturday, 10 August 2013

Filofax Personal inserts for Letter Paper users

I get a lot of email from North Americans, frustrated that they can't use my A4-based templates. It seems the American government won't step in and adopt the system the rest of the world uses. So Plan B it is, then.

Converting all the inserts will be a long-term project, but to get the ball rolling, I'm releasing three Filofax Personal inserts in Letter Paper format for you to download, print and use. Follow the header links to the original blog posts for each of these if you want more information on their use.

1. Don't Forget pages


Download as a Word file or as a PDF file.

2. Weekly Habits Tracker


Download as a Word file or as a PDF file.

3. Weekly Meals Planner


Download as a Word file or as a PDF file.


Print these double-sided. If you have a duplex printer, set it to flip on the short edge. If you don't then you'll have to print odd-numbered pages and then refeed to print the even-numbered pages on the reverse. You might have to experiment to find out how to refeed the paper.

On one side of each sheet you'll find crop marks. Use a craft knife and a steel ruler to release the Personal pages and punch them. The templates are set up with mirrored gutters to accommodate the holes.

If using the PDF be sure to set it to print at full size as explained here.

Further inserts will be converted gradually until the full back-catalogue is available in this format, but this won't be a short job.

Friday, 9 August 2013

Download and make your own Field Notes and Moleskine Cahier sized diary

If you're a regular reader you'll know that I've made available for download a number of different diaries for the Midori Traveler's Notebook in both sizes. I've also shown you how to make your own Traveler's Notebook from scratch, which means you need not be confined solely to Midori's two sizes.

I have made my own in a size that accepts Field Notes and Moleskine Cahier notebooks. For me, this is a more practical size than Midori's Passport format.

I have built a weekly diary layout for this size, which you can download and print at home if you like. Here's what it looks like:

Inside front cover

Week layout

Download your choice of file from the list below.
2013 July - December        PDF version
2014 January - June        PDF version
2014 July - December        PDF version
These files should be printed on A4 paper in booklet mode, assuming your printer supports it. If your printer doesn't support booklet mode, you can use the wonderful FinePrint app.

Then you can stitch or staple on a cover and cut the insert down to size. The finished booklet will measure 14cm x 9cm.

Although designed to fit into your system, these will work just as well as standalone diaries.

Wednesday, 7 August 2013

Geek out with a DIY Pencil Guard

Wooden pencils are wonderful tools for writing and drawing, but if you've tried to take them out and about, you'll have become aware of the disadvantages that spring from having an exposed point knocking around in your pocket, bag or pencil case. Sooner or later the point will snag, or you'll get graphite marks everywhere. You might stab yourself, or someone else.

May I present the solution? This is what I'm calling a Pencil Guard. You can make it at home for pennies and it will make it much easier and more pleasant to carry and use your pencils away from the desk.


You need to begin with some clear PVC or silicone tubing. It needs to have an inner diameter of exactly 7mm. Tubing is usually specified using two measurements, e.g. 7mm x 9mm. The smaller number will be the internal diameter, the larger number the outer diameter. This is the one I bought. You'll probably want to order just a metre of this, unless you carry a very large number or pencils around with you.

All you need to do is use a very sharp knife to cut 40mm lengths of tubing. Each one is a Pencil Guard.

Carrying a pencil using a Pencil Guard will mark you out as a careful and resourceful user of traditional writing instruments, or - as my wife would have it - a geek.

Sunday, 4 August 2013

The Thousand Books Project - happy ending time

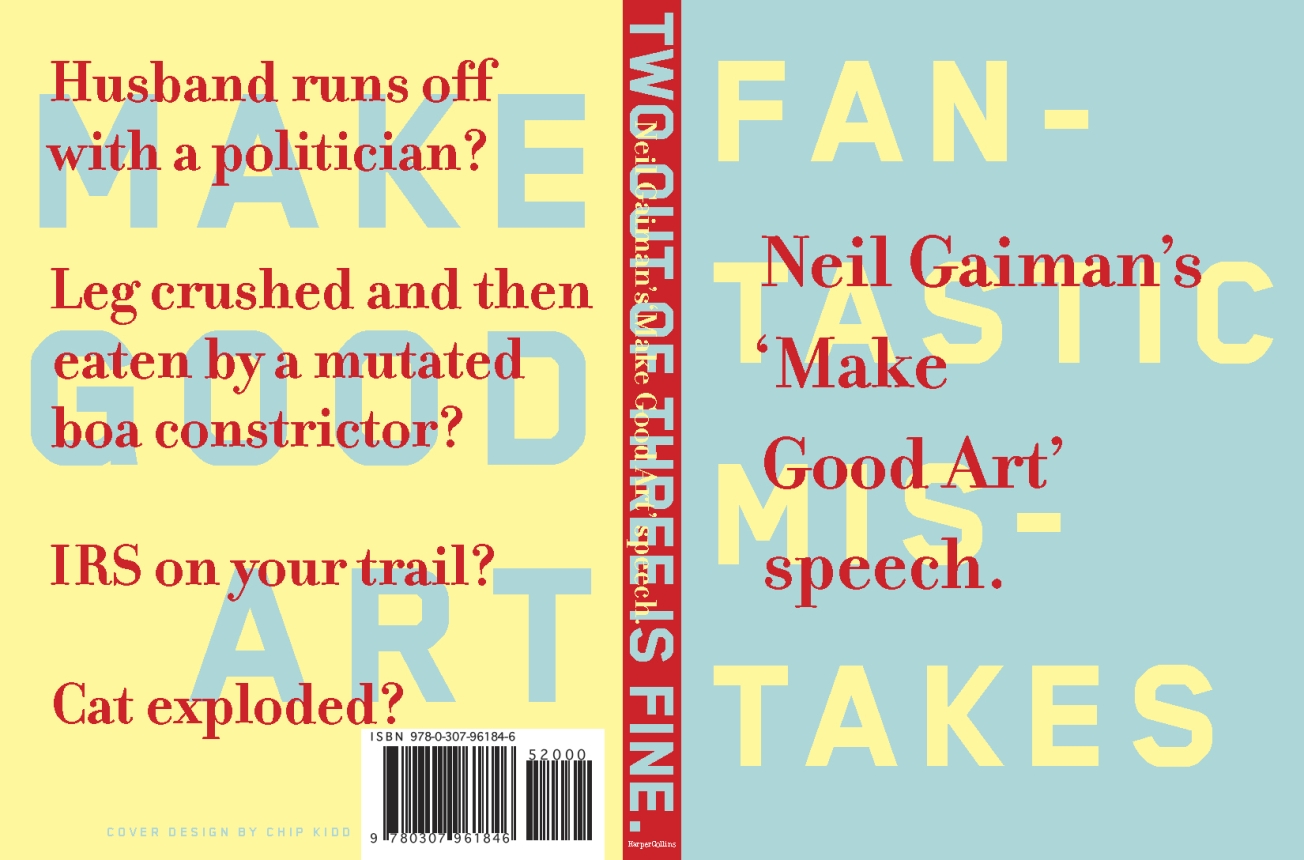
Remember my Thousand  Books Project? Well, I made it. Nearly two years early, I have just finished my thousandth book since I began logging my reading in July 2005 and set myself a ten-year objective.

I went to a bookshop to choose number one thousand. It had to be a special book and I entered Waterstones with no idea what I was going to buy. And then I saw the perfect choice.


Neil Gaiman is a wonderful writer and an exceptional blogger so I knew this would be good. And it was. I can't possibly do it justice with a summary or a review. If you are in any way creative or aspire to be creative, read the book. It will speak to you.

So, what shall I read next...?


Friday, 2 August 2013

Filofax, Midori and Moleskine pages sizes compared

In case you were wondering about the relative sizes of pages in competing note systems, I have built the graphic below, which shows the most popular sizes of Filofax, Midori and Moleskine pages placed together and notes their measurements in millimetres.

Click to enlarge


Thursday, 1 August 2013

Easy DIY Midori kraft file - passport and Field Notes edition

I recently showed how to use an old A4 envelope to make a quick kraft file for your Midori Traveler's Notebook.

I'm delighted to find that you can use the same trick with an A5 envelope to make a similar insert for your Passport-size Midori or your Field Notes-size version.

Adding the insert

Insert in place and ready for use.

LinkWithin2

Related Posts Plugin for WordPress, Blogger...